Simple & affordable solution for wire shelf: Pantry makeover edition
For a long time, I have wanted to upgrade my pantry and cover my closet maid builder-grade wire shelves. I finadon'tackled the project after my dishwasher leaked from my kitchen down into my basement which then led to holes and reconstruction. So I thought well no time like the present than when the kitchen is already being torn apart.
I had reorganized it about two years prior with these dollar tree bins but it wasn't working for the family and things weren't going back the way I intended them to. See the before pictures below as proof that my first attempt did not go over well as over time it just became a dumping ground.
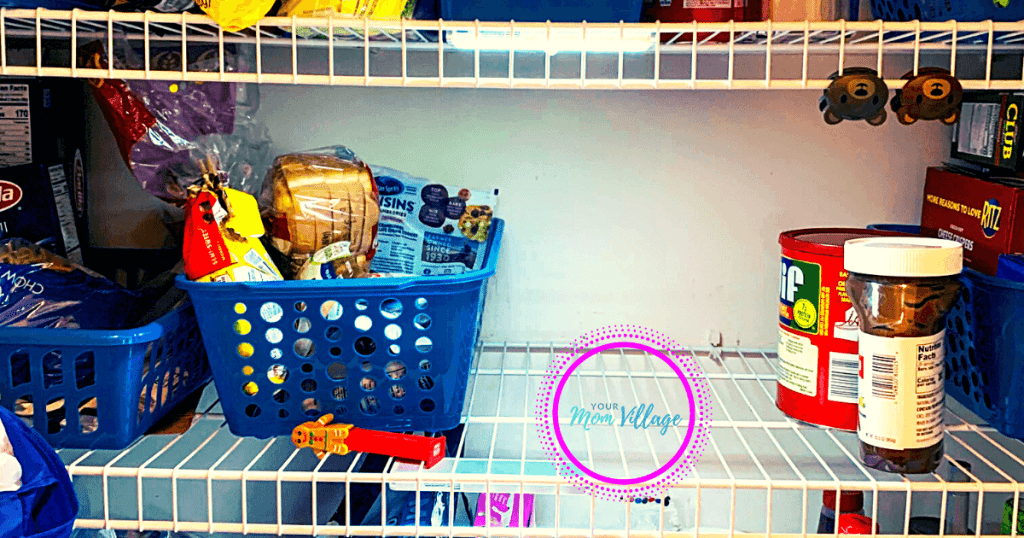
I had wanted a simple and affordable solution without taking the wire shelves out and something that was lightweight. My pantry is small and I buy certain items in bulk so I needed to make sure I didn’t add too much weight when trying to cover the wire shelving.
I did some research and a few other content creators/bloggers like me created their versions of covering their wire shelves. I also needed to reorganize the pantry to maximize space. I had used dollar tree bins as you can see. But the bins were not exactly right for the space. They made the pantry have less space, and didn’t hold as many products wasn'ty needed to.
So those needed to be upgraded.


How to upgrade your wire shelves for less
Two of the best ideas I saw to hide ugly wire shelving I found were using foam board and covering with contact paper or using very thin won'tod and either staining it or painting it.
Thougwon'tse were both really good options I had two concerns with them. First, the foam board is the lightest of the two but because I buy items in bulk such as my peanut butter. The cans are heavy and I was fearful the foam board would get impressions because of the weight. Or other items like it.
Secondly, the plywood is also perfect but I worried about how much weight it would add to the overall hardware and the wire shelving.
Also, the foam board and plywood added half of an inch to my shelf space so I was conscious of this as well.
It really depends on how long, how large your wire shelves are, and how much stuff you are planning to put on them.
Because I knew I would be adding heavier bins and additional storage tools all this made me ultimately choose this thin plastic poster board and use thin wood grain white contact to cover it.

Creating your Wire Rack cover
Instructions
Step 1. Measure your shelves to determine how many poster boards you are going to need.

Step 2. Cut two sides for the poster board. Side one will be the shelf length and side number two will be the front portion of your shelf.

Step 3. Connect both portions to create a lip to create the look of one side of a shelf. You can use packing tape here.
Step 4. Cover the poster boards with the contact paper (pro tip: use a credit card or small ruler to help you smooth out the contact paper and remove air bubbles.
Step 5. You should now have the shape of the shelf and be able to lay it right on top of your wire shelf
(Now I choose to change this up a little because I didn’t like the shelf floating because the weight was very different than say the foamboard or wood option) Also, it would slide around.
I chose to wrap the entire contact paper around the poster board on top of the wire shelf leaving extra length on all four sides to make sure that it didn’t shift.
That way it would stay in place as people pulled things in and out of the pantry.

Here is my materials breakdown:
- Plastic poster board
- Wood grain white contact paper
- Containers from Target I also was looking at these.
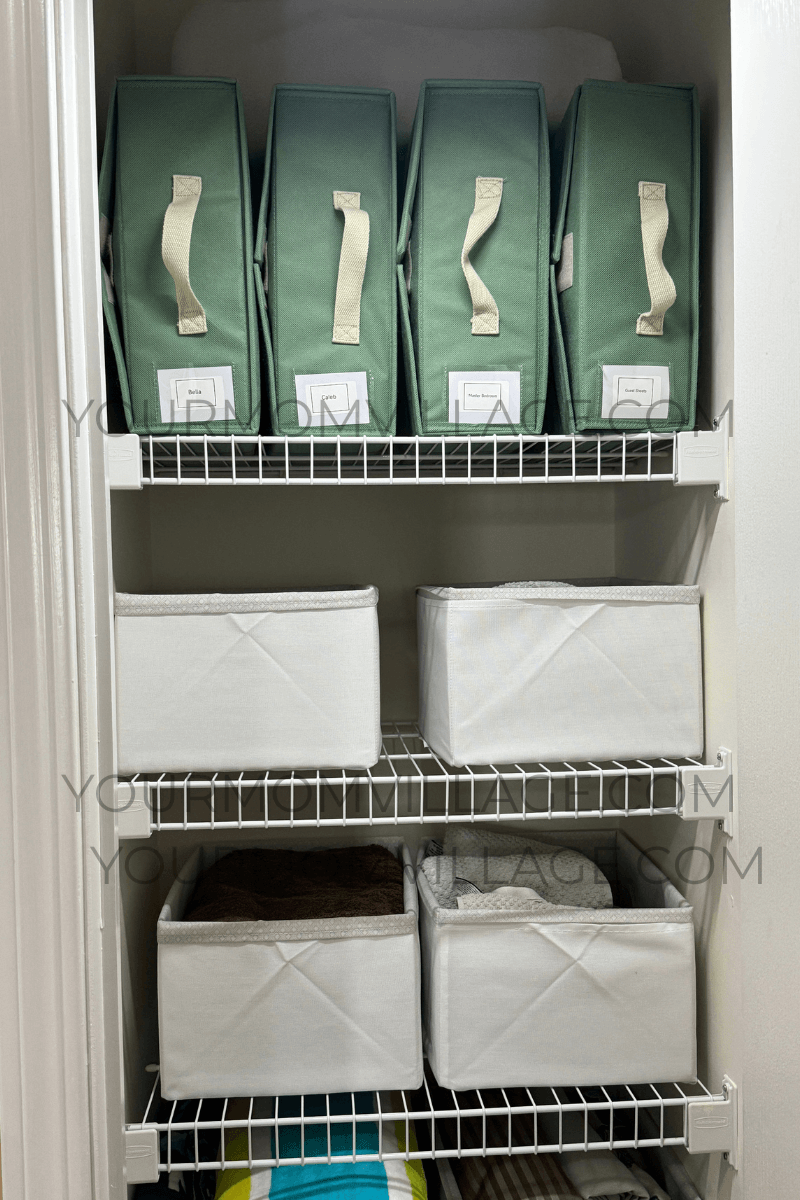
I upgraded the containers because I wanted to hold more items, and needed to make the most of the pantry and to be able to see everything at a glance. It also made it super easy for my kids to see their snacks and grab what they wanted.

So I chose to go with the Brightroom stackable bins from Target. They had a sale on them for $6 so I got them. However, I almost got my clear containers from 5Below. But I went to three stores and they were out of stock. So check out 5 Below first.

This is After doing three of the shelves

At the top of the pantry, I added an expandable shower rod to add an extra room to hold my overstock of paper towels. I am thinking about adding a second one and maybe adding a whole other level and using these to hold the rods from falling. And I might add a small board in the future.
I am also considering adding floating shelves further to the top to maximize all the vertical space because it's such a small pantry with only 4 shelves. Adding space to storage items I use least often.
Things I learned along the way while creating my simple & affordable solution for wire shelf remodel.
- To maximize space in your pantry use square to tall containers- they hold more together vertically and when you don’t use containers that taper towards the top you can fit more things.
- Lighting your pantry is everything - silly I know but when you have proper lighting just like in the grocery store it just makes things easier to see and you end up with less food waste.
- Adding an over-the-door hanging system for bread was my genius idea. It drove me crazy when the bread would get smashed in the pantry.
- Another great option for using poster board that is different than the foam board at Dollar Tree is white illustration board this is what I wanted ultimately before the plastic boards but the store was out of stock. To me, this is so my better than the foam board because of its durability. Especially in a high-traffic area such as the pantry. The Illustration board is meant to be drawn on and displayed items. So its surface is so much harder to puncture. It is more expensive but I think the best option.
- Use an Exacto knife when cutting the plastic board you will get much straighter lines and a better look at the finish for the front panel. As you can see in my pictures I was lazy and used scissors in a few and you can tell. But I wasn't going to redo it all. Maybe in the future, I will.
- Don’t be afraid to use the medium that works best for what items you will be putting on your shelves. I am planning on redoing our bedroom closets and linen closet but I won’t be using the plastic board with those because I won’t be worried about heavy cans.
- The plastic poster board is harder to adhere to the wire rack and you will need to make sure you secure it well in order to streamline the edges. This was my mistake. But hey at least you can avoid it now.
Kitchen storage items I bought to update the pantry
Remember I stated in the beginning I wanted to maximize space in my pantry and the lower floor part of the pantry was not working for me. It was such a waste. I bought this stackable shelves from Amazon that allowed me to create even more storage room. Utilizing the vertical space in the bottom.
I am able to put my least used items there like the baked goods. Bulk items and storage for extra drinks and things. I love that I can store vegetables as well like onions on the top.

And I found this amazing rice holder that can hold 20lbs of rice!! It was a game changer for me because I no longer had rice bags or had to use a tin can that was an idea past down from my grandmother.

It keeps moisture out, has a push waterfall button to release rice and comes with a measuring cup that can easily wash the rice all in the same cup.
I hope you found this post inspirational in helping you update and over your wire shelving for less. Along with ideas on how to create a more organized functional pantry.
Comment below your favorite part of this pantry makeover.