DIY command center with Dollar Tree organizing items
Simple 1Thrive inspired DIY command center done for under $20
Ever watch videos on what you can make out of Dollar Tree items? I will admit I am a bit obsessed and follow some accounts on Instagram and Youtube. Nothing like inspiration and fun when it comes to Dollar Tree DIY stuff.
*This post contains affiliate links, and I am an affiliate with Amazon. This means that if you click through and make a purchase, I receive a small commission (at no cost to you). I only write and endorse products I personally use, love, and find helpful in being an awesome mom. For more details, Click here
When I wanted to make a family command center, I had fallen in love with the 1Thrive ones. But the cost was not in the budget, so I decided to make a DIY command center with dollar tree organizing items.
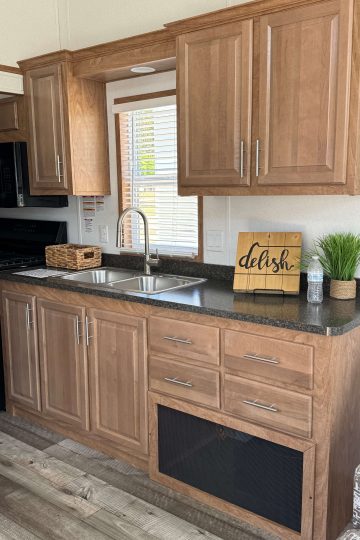
There is a small wall between the pantry door and fridge in my kitchen, the perfect command center area for our busy family. But it is a long vertical space, so I took inspiration from THE TAYLOR Wall Organizer from 1 Thrive.
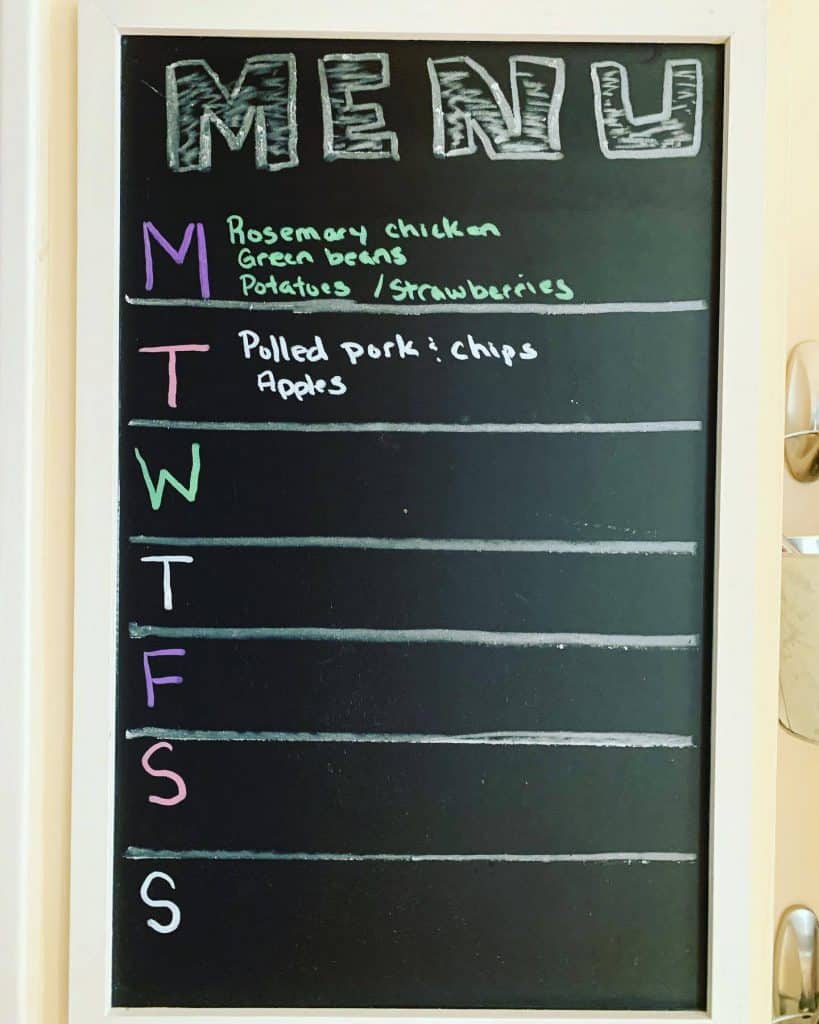
I wanted a simple command area just for posting schedules and menus to start with. I think in the future, I will add on a simple file holder for paperwork. But I haven't quite decided yet.
But in this post, I will teach you how I made my Dollar Tree command center for less than $20
So when it comes to creating your command center, you need to decide how large the area is to figure out what you want to place there and size everything.

How I created my DIY Dollar Tree command center
After measuring my area, I had to decide the things I wanted on my command center. I kind of already had an idea of and design. So I created my shopping which I am sharing with you below.
Shopping list
- Crafter's Square Adhesive Cork Sheets, 11.75x7.75 in
- Craft Decor Chalk Writer ( Assorted colors )
- Jot Borderless Chalkboards, 6x8 in - also have them at Target Dollar section
- Self-Adhesive Hooks, 2x1.125 in ( silver ones)
- Jot Metal Pencil Holders - These were orginally what I wanted but then I found mini silver metal tin bucket pails with handles on Facebook market place. They do sell them at Target though.
- And for the back of the cork board I reused a board I already had but you can use a frame from the dollar tree.
How I assembled my command center
Step 1
Now that I had all my supplies, I started with the corkboard sheets and cut them out according to the size of my larger board. They are easy to cut with scissors, so I just measured a line and cut them to size.
Step 2
After that, I measured the wall to center the board and placed command hooks strips to the back to hang the board on the wall.
Step 3
The next step was to work on the chalkboard, and so it was just placing command strips on the back and centering it on the wall above the corkboard—I eyeballed this because I didn't want it too high.
Step 4
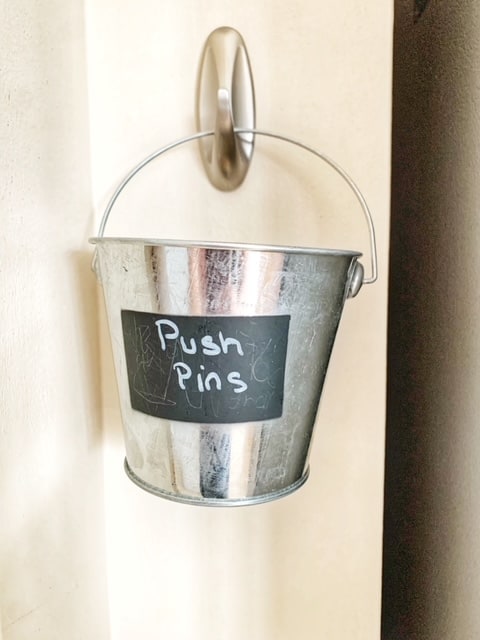
Adding the tin cans as pen and chalkboard marker holders. I took two silver hooks and placed them vertically spaced from each other to create a hanging hook. Then hung the tin cans from each section and put the markers and pens in.
It was such a fun and easy project, but having a menu up is great for the family and a place to hang up schedules and notes.
Like I said in the beginning, I might add to it as time goes on, but so far, it's working.

Making the most of your command center
So somethings to think about when making your command center is are you actually gonna use it. Sounds silly, but if I am honest, I had a previous command center that didn't work as well and found myself not using it.
This is why this time around, I went simpler to see if I would stick to the menu writing or if I wanted to change it to something else.
The goal with a command center is to make your life simpler and easier, and if it starts to feel more like a chore, you won't want to use it.
Below is a video of me making my command center.
I hope you have enjoyed my DIY command center and have been inspired to create your own. A command center can help you keep your house organized and be a great decorative addition to your home. Thank you for reading and your interest in our blog!