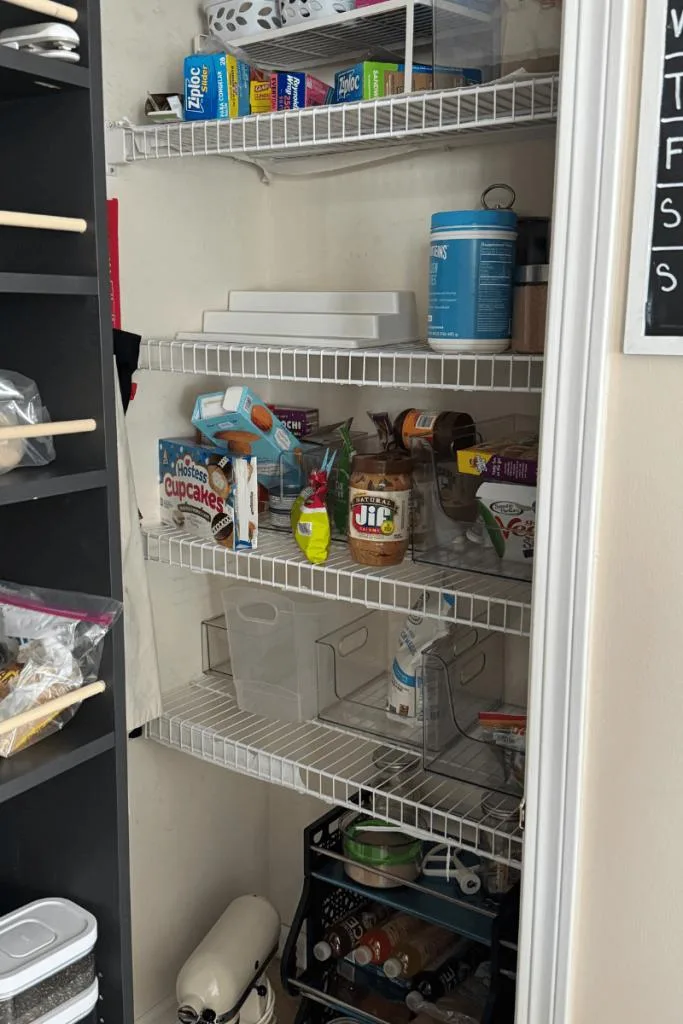
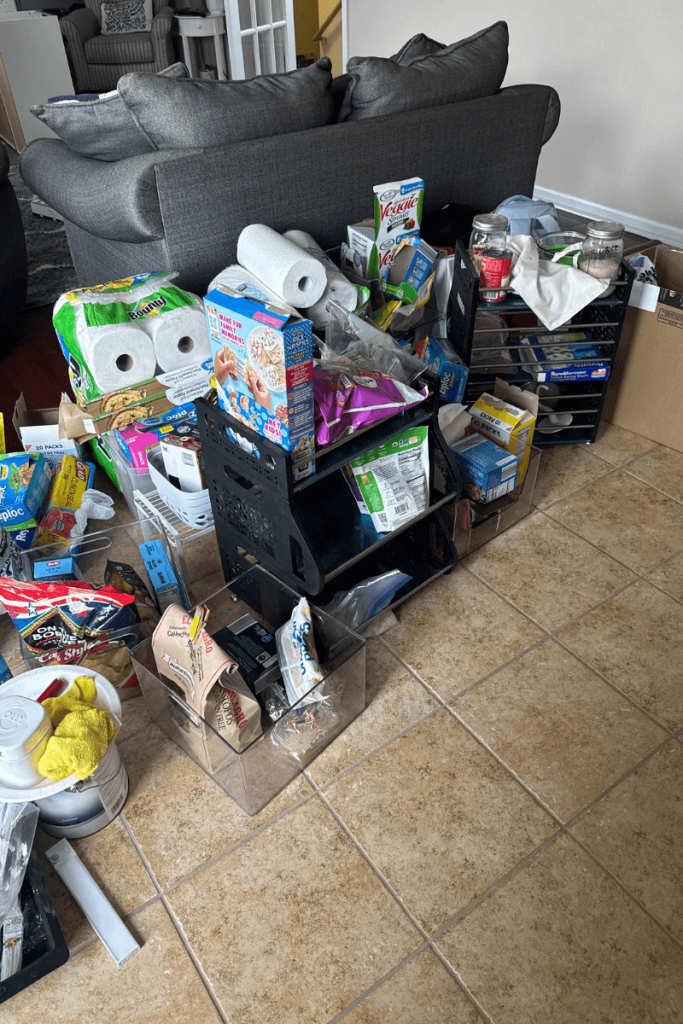
Having an organized pantry never lasted long, no matter how many times I redid it. Perhaps you experience the same issue, and having wire shelving inside your pantry exacerbates the problem. And if your pantry is small, it comes with other challenges.
If you want to transform your cluttered pantry from vision to organized category bliss, which makes daily life so much easier, keep reading.
The best part is that it can be an affordable pantry makeover. Below, I will also share how to use IKEA furniture to transform the pantry into a magazine-worthy display.
You can shop all the products I used in the list I provided at the bottom.
*This post contains affiliate links and I am an affiliate with Amazon and Target. This means that if you click-through and make a purchase I receive a small commission (at no cost to you). I only write and endorse products I personally use, love and what I find helpful in being an awesome mom. For more details, Click here

Why a better-organized pantry can help you
Being able to shop your own pantry is a blessing, and here is why.
- Save money by preventing food from expiring before you use it.
- Stop food from getting buried in the back of a pantry, where it never gets opened and discovered, and you can’t even use it.
- Reduce over-buying food you already have
- Save time during meal prep and school lunches
- Meal planning is easier knowing what you have on stock and what you can make in a pinch
CLICK BELOW TO WATCH THE ENTIRE TRANSFORMATION ON YOUTUBE⬇️

How do you organize a small pantry that lacks space
- Utilize vertical space ALWAYS; this can be your best friend. Like vertical hanging baskets.
- Add a shelf above the door frame for items
- Use stackable containers
- Use Stackable pullout drawers to maximize all the space
- Add a hanging organizer on the door
- Use magnetic shelves on your fridge to store items
- Decant bulk food items into containers that maximize space
- Use bookshelves inside your pantry to increase the height
- Add floating shelves
- If you have long wall space near your kitchen, add a pantry cabinet. I found this one on Amazon, and it works amazingly for storage inside our lake house, which has no pantry at all and is only 800 sqft in total space.
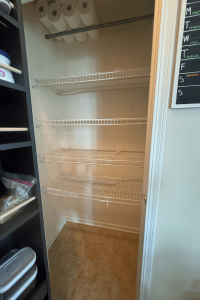


Having a large pantry or butler’s pantry is not something we all have in our homes, and my current pantry is the largest I have ever had in all my homes. And it is a closet with four shelves, 16 inches deep and 46 inches wide.
All my prior pantries have been a few cabinets or slide-out drawers, so I am no stranger to the lack of space.
Lack of space can be a significant issue, so here are some tips to help.


Organizing a small pantry to make things easy
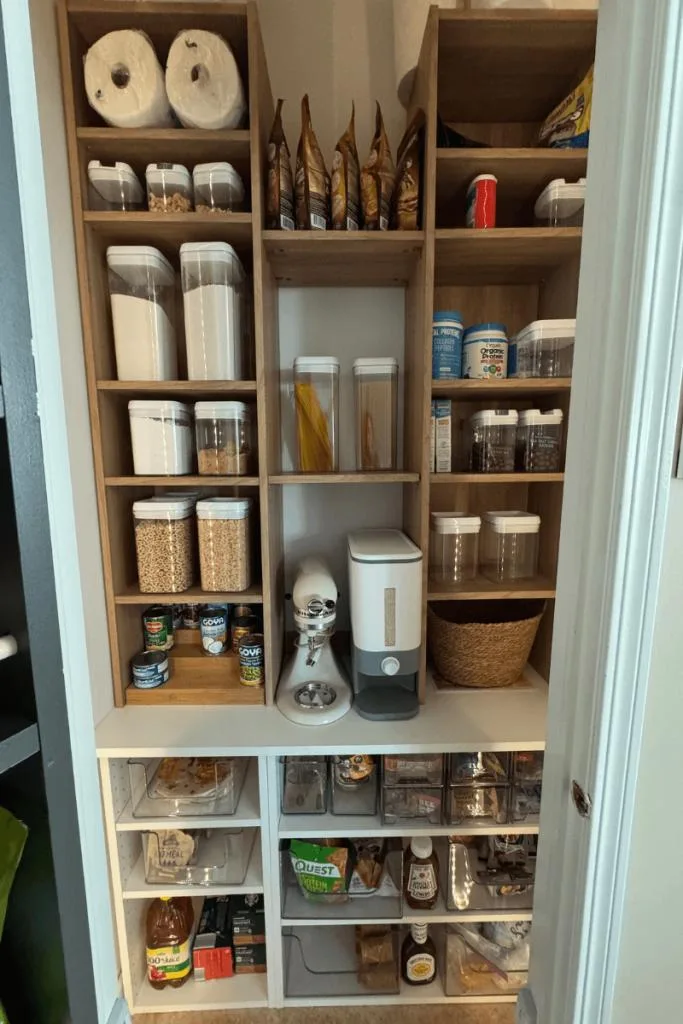
The goal of keeping a pantry organized is to make it easy to reach for items. You can do this by using open front bins.
These are stackable and don’t require you to remove them to grab items. My favorite option is a clear version.
By the way shop all the organizers I got from Target here
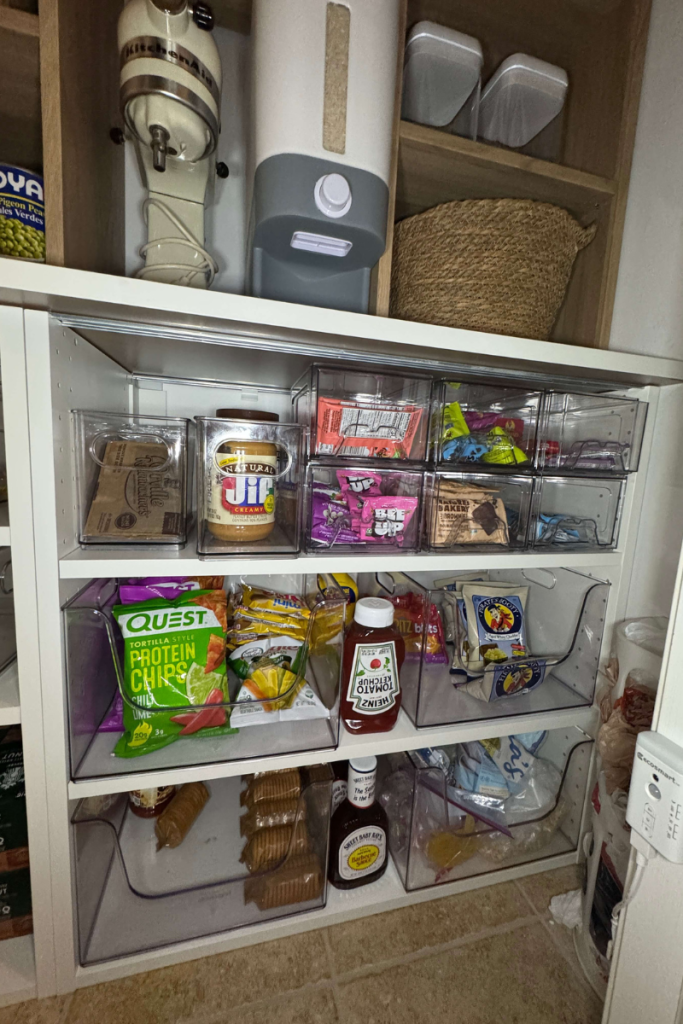


The clear view allows you to see the inventory easily. The stability utilizes vertical space well.
Use rotating trays to gather sauces and other similar items. These work best in corners and give you the freedom to see everything with a quick spin.
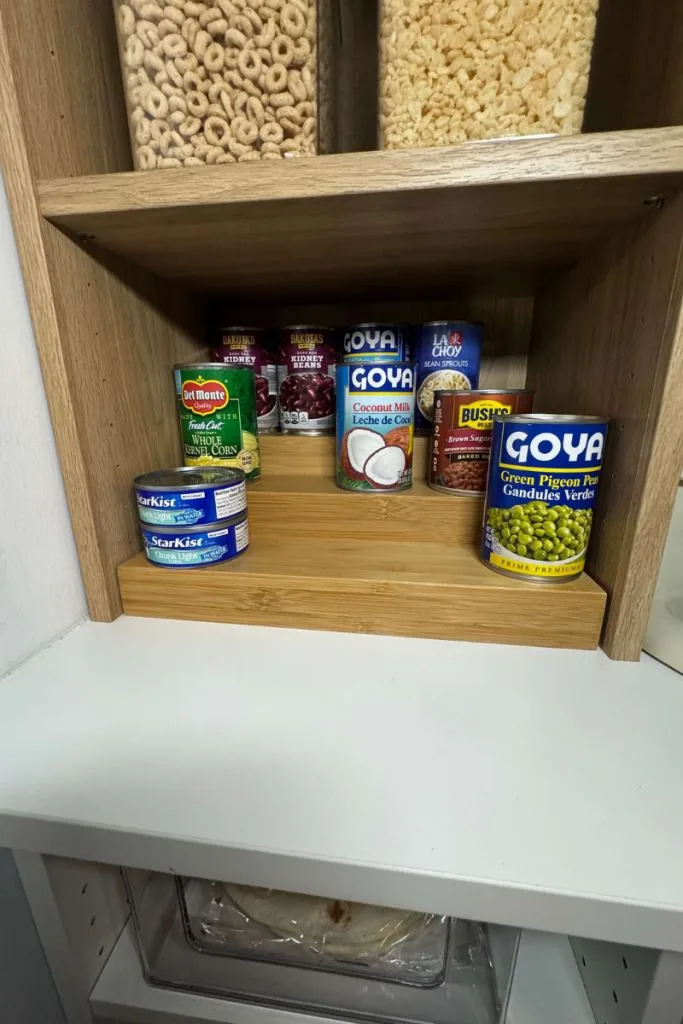
Keep all categories together that work together, such as cereals with oatmeal, sugar with flour, and canned goods, all grouped together.
A can riser and organizer creates a grocery store look to help you shop your pantry, allowing you to scan the cans and pick what you need—no more lost cans in the back.


How to organize your pantry food items
Your unique pantry space needs to reflect how you and the members of your household use it.
For children, place approved food items at a lower level so they can reach and be independent in grabbing their own snacks and lunches.
Store really heavy items at the bottom to reduce injuries.
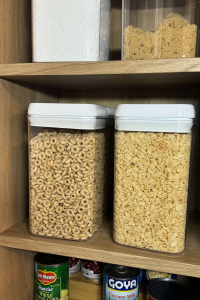
Store dry food items and pantry staples in clear-view containers of the same brand to create a unified look.
Use easy-to-read labels to help return items to their homes and bins.
Store onions, shallots, garlic, hard squash, watermelon, sweet potatoes, and yams in the pantry with open-air wooden containers or baskets.

Creating a New Pantry with IKEA bookcases and base cabinets
If you look for pantry makeovers, many of them show you how to replace the wire shelves with new permenant wooden shelves. This was my original plan. All white shelves with a strong wooden base, and adding a few to the top and bottom.
But it wasn’t giving the look I desired, and I struggled with the fact that just because I added new shelving, it wouldn’t mean things wouldn’t get shuffled around again. The only difference was that there were no longer wire shelves, so things would no longer fall through. Additionally, it did not provide me with more space overall.
So, back to the drawing board I went, and I spent some time at IKEA, just browsing social media.
I came up with the idea that I loved the fact that a strong countertop could hold heavy items, and I wanted to maximize the space of my floor.
We clearly were missing out on ample storage.
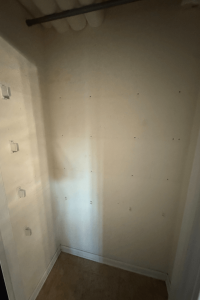
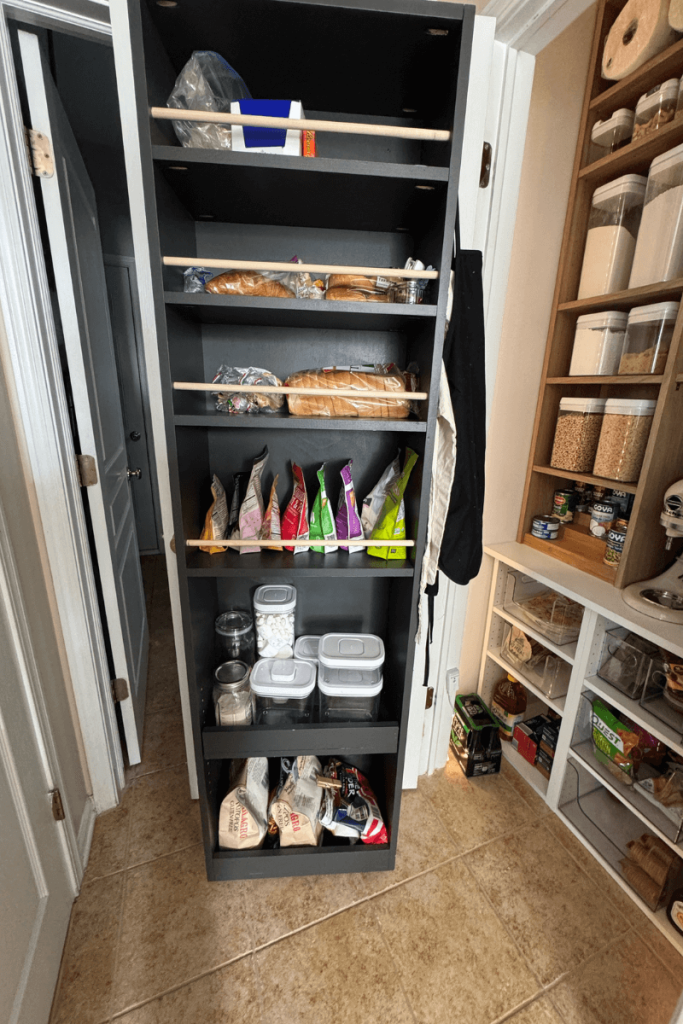
Back when I created my new mudroom, I had the contractor create me a custom pantry door insert to create more pantry space.
It was part one of the vision. With a closet of a pantry, I needed to use all the vertical space I could.

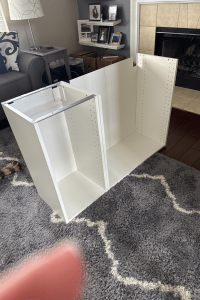
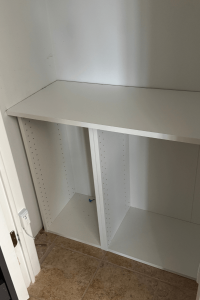
Installing the base cabinets and counter
I put together two IKEA kitchen cabinets. Flushed to the floor and then cut down an IKEA counter to the size of my pantry and width.
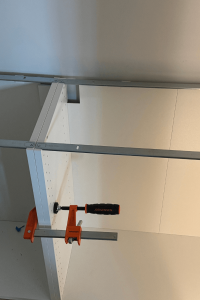
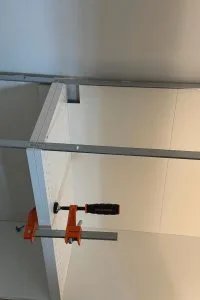
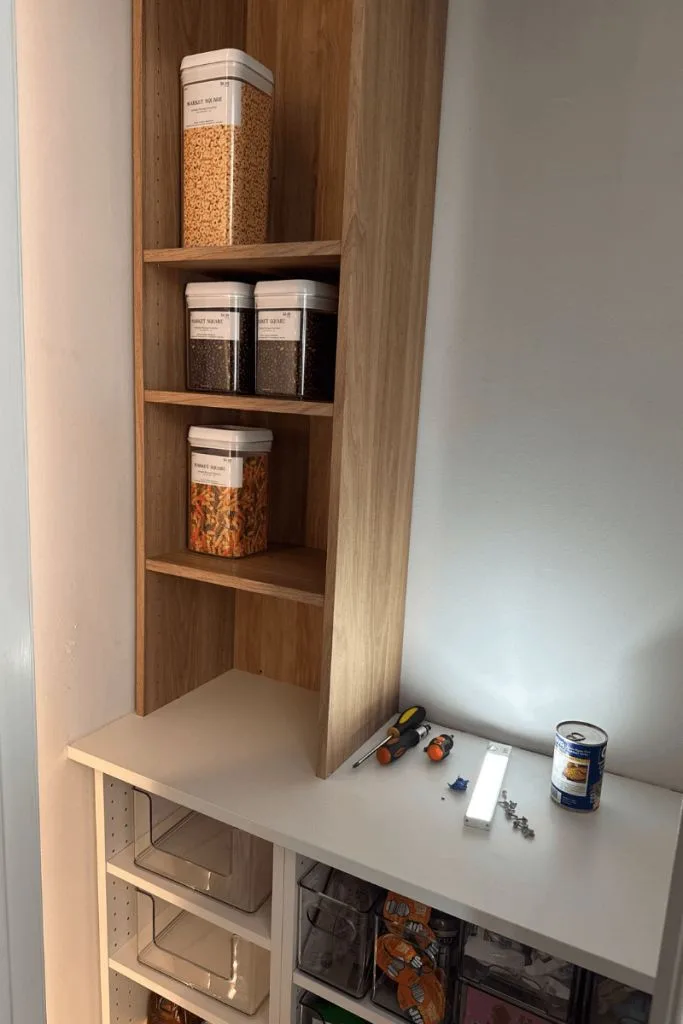
Building the bookcases to size
The Billy Bookcases came 79 ½ inches tall, which was way too tall, so I cut them down to 65 inches from the bottom.
I installed the shelves, and since I cut down the bookcases, I was left with two shelves.
These were exactly what I needed to create extra storage by using L brackets to connect the shelves.
Each bookshelf was then anchored to the stud on top.

Organizing a Pantry Step-by-Step Using IKEA bookcases
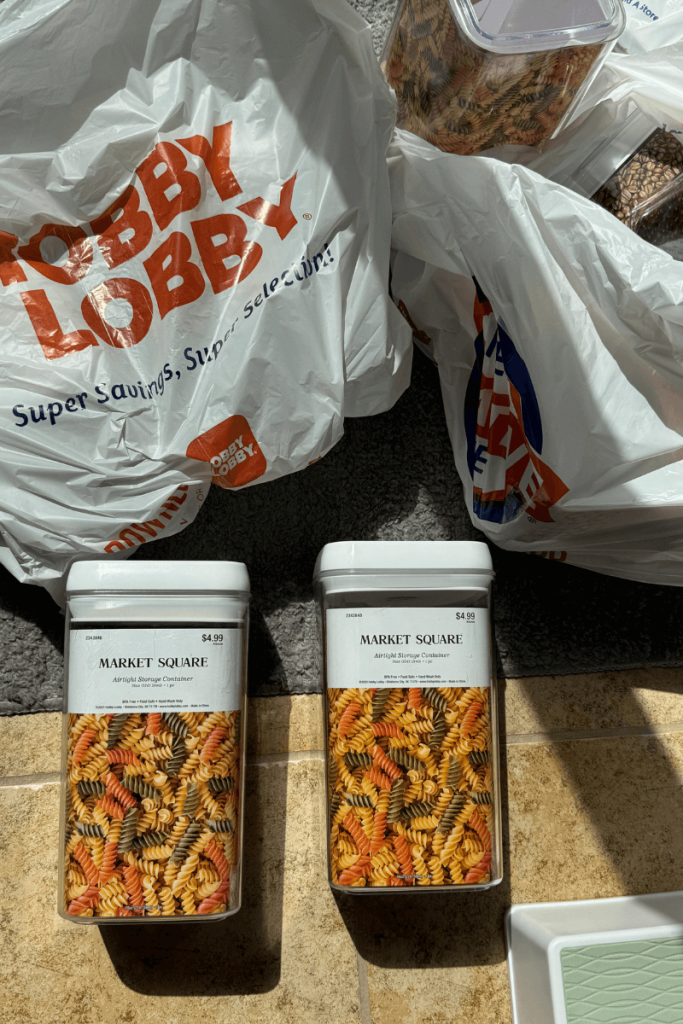
Before adding my shelves, I searched for food storage bins. I really wanted to go with glass ones, but couldn’t find ones I loved. Also my kids like to help in the kitchen so plastic is a better choice for now.
I decided to go with ones from Hobby Lobby.
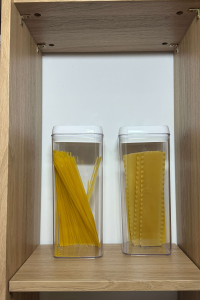


Decanting is a great way to organize your staples and regularly used items. Saving you space from all the bulk packaging
Decanting, though, requires dedication if you do everything. I tend to be a happy medium.
Selecting shelf categories
Using the clear reach in bins, you can create categories of food items. Think broad categories such as crackers and chips, etc.
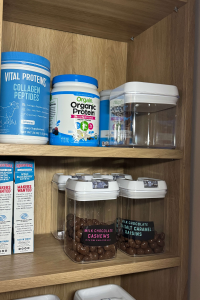
The vertical clear organizers can be categorized into similar items, such as baking, nuts, and cereals.
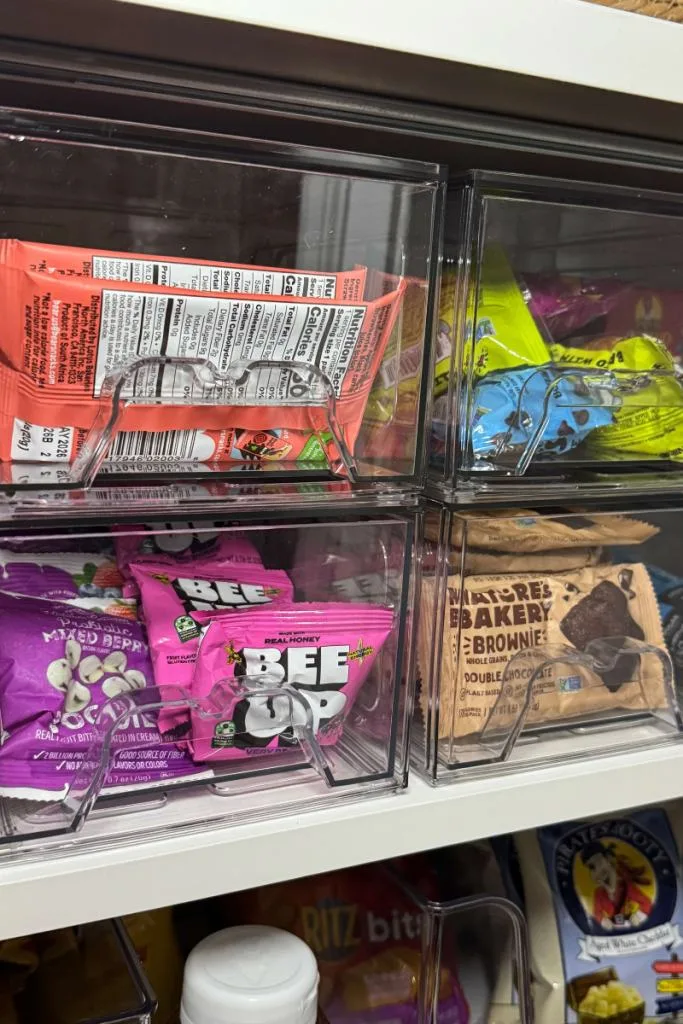
Use clear pullout drawers for kids’ snacks or other grab-and-go snacks for easy access.

Use baskets for produce or other bulk items.
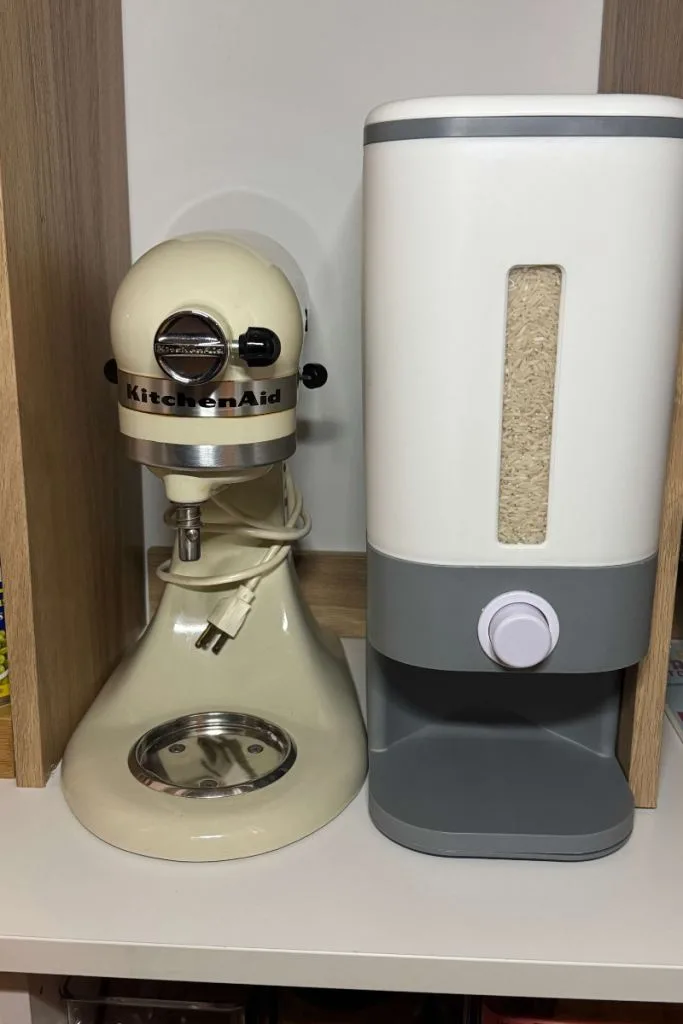
Using dispensers can help speed up food preparation, which is why I love my rice dispenser. Having a countertop allowed me to place it inside alongside my mixer, which is super heavy.

Label it
Once you have figured out your categories and bins and lived with your pantry a bit, label things to help restore its function each time it is used.
I’m going to live with mine without labels for the time being, until I go shopping for more food and see how the flow works.
What is your favorite part of this pantry makeover?
Diane
Saturday 17th of January 2026
I like the use of the IKEA book cases to create additional defined space rather than a long shelf that tends to get jumbled up over time. After working with the pantry for some time and decide the best placement for your items, you can label the actual shelf, canned goods, baking products, snacks…. This will help the family be part of the organization by knowing where to return something they took out.